

Today we have a great tutorial on getting started with die cutting vinyl by Karin Adamczyk. Karin is a very knowledgeable and well known in the craft world and runs the Scrappy DIVA Blog and we are honored to have her as a guest. She also has some great tutorials on her YouTube channel, so go ahead and subscribe to her!
Getting Started with Vinyl
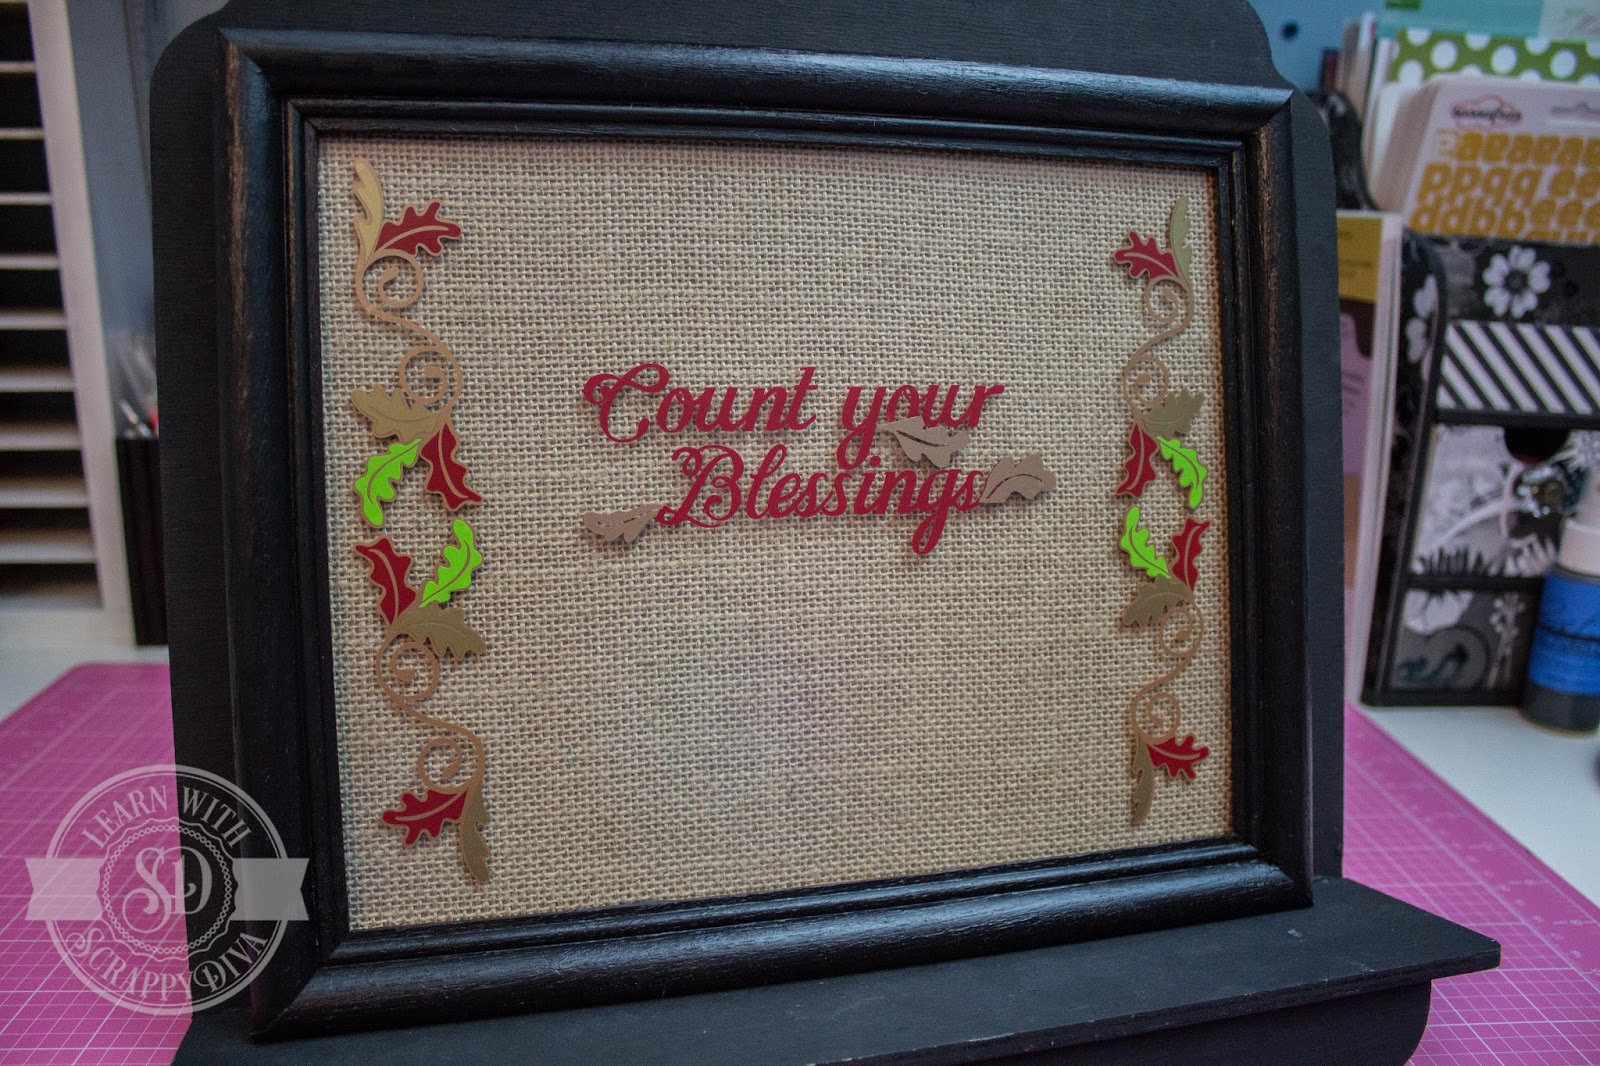
Creating your own home decor pieces is so much fun. It’s a wonderful way to decorate your home with very personal items and gives you such a sense of accomplishment.
While this project is stunning, it isn’t difficult at all.
This video shows you how I made it.
Below are some notes for those of you who are just getting started with using vinyl.
Different types of vinyl
- sign vinyl
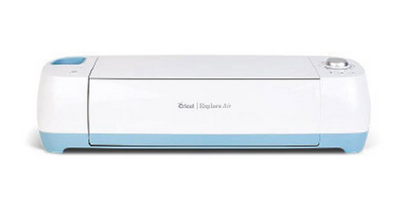
- brands (Cricut, Silhouette, Oracal, Avery)
- temporary adhesive (wall expressions)
- permanent adhesive (decals for cars, tumblers, mugs, mirrors, doors, glass, plastic containers)
- heat-transfer vinyl
- brands (Cricut, Silhouette, Siser)
- regular, glitter, flocked
- for use on fabric
Different types of cutters
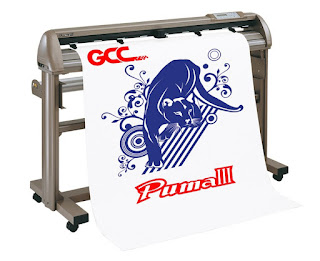
There are so many different types of die-cutting machines that can be used for cutting vinyl of all types.
When you cut vinyl with a die-cutting machine, you want to kiss cut the vinyl so that you do not cut through the backing. After cutting, you need to weed away the parts of the design you don’t want.
If you are using sign vinyl, once you have done that, you use transfer tape to transfer the vinyl from the backing onto the transfer tape and then from the transfer tape onto your project.
My favorite transfer tape is the new Cricut brand. I only discovered it yesterday because my local Michael stores didn’t have it earlier. It is clear, has light grid markings right on the transfer tape and has just the right amount of tack to pull the vinyl off the backing, both Cricut brand vinyl and Oracal vinyl (based on my personal tests), and for pulling away the transfer tape from the project surface and leaving the vinyl on the surface.
If you are using heat transfer vinyl, you need to make sure that you flip your design before cutting, then weed away the parts you don’t want. Heat transfer vinyl has its own backing so you do not need to use transfer tape. When you cut heat transfer vinyl, always remember, shiny side down. You want the rubbery side up so that your blade cuts into that side.
The machines I have and classes I teach online are for:

Software to design your files
All of the machines are shipped with their own software (also referred to as their native software).
You can use 3rd party software programs to increase flexibility and use special features to create unique designs. The term 3rd party software means software developed by a party other than the manufacturer of the machine.
The right software for you will depend on your comfort level with software and what you want to achieve. Design Space for the Cricut Explore is the easiest to learn and Illustrator has the steepest learning curve. There are many others in between.
While Design Space is the easiest to learn, it has fewer features for customizing your shapes and no features for creating your own designs. You can manipulate images in the Design Space image library and you can import SVG files into the program, but you need 3rd party software to create your own files.
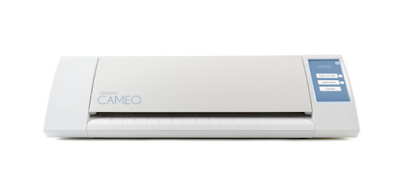
Silhouette Studio is the native program for the Silhouette Cameo and Portrait. To be able to open SVG files (the most common cutting file format), you must pay to upgrade the software to the Designer Edition. You can get this upgrade online for as little as $26 (upgrade card mailed to you) or $28 (upgrade code sent to you by e-mail).
Note that you cannot save in SVG format with the Designer Edition. SCAL and MTC and cut directly to the Silhouette Cameo and Portrait. You can purchase Silhouette Connect to cut from Illustrator or CorelDRAW to your Silhouette Cameo or Portrait.
Programs you can use:
- Inkscape (free, available for Windows and Mac)
- Sure Cuts a Lot (SCAL) (approximately $60, fairly easy to learn, available for Windows and Mac)
- Make the Cut (MTC) ($57.95 with coupon code, fairly easy to learn, available for Windows only)
- Adobe Illustrator (available through Creative Cloud subscription only, expensive, very steep learning curve, available for Windows and Mac)
- CorelDRAW (various options available, expensive, very steep learning curve, available for Windows only)
Personally, I have tried to learn Inkscape and gave up. I found the program counter-intuitive and it did not save SVG files reliably for me. This could be partly due to laziness in learning yet another program, especially since I already have all the other programs listed above.
I find SCAL to be an excellent program. It is reasonable and fairly easy to learn.
MTC is also an excellent program, but since I have a Mac, I don’t use it very often.
Illustrator is my absolute favorite because you can create anything you want. It has taken me years and many courses to learn and I still have much more to learn.
I love CorelDRAW for designing rhinestone files and special text functions. It is one of the reasons I have Windows installed on my Mac. My accounting program is the other reason.
All of the above programs can be used to create vinyl designs.
Before you decide on which program you should purchase, download a trial version and try them out.
Applying vinyl to different types of surfaces
You can apply vinyl to walls, cars, laptops, mugs, tumblers, crafting machines, clothing, totes, and so many other items.
The general rule is to use temporary adhesive for walls so that you do not remove a layer of paint when you remove the vinyl. The most commonly used brand for this is Oracal 631. All of the colors have a matte finish.
For cars, laptops, mugs, tumblers, crafting machines and other items with a smooth surface, or for items that will be exposed to water, use a vinyl with a permanent adhesive. The most commonly used brand for this application is Oracal 651. Most of the colors have a glossy finish. After you apply the vinyl, let it cure for about 72 hours to give the adhesive time to set. This means letting the item sit without using it or washing it.
Although many people wash tumblers and mugs in the dishwasher without problems, this is not recommended. These types of items should be hand washed and if you are selling items you make, you should recommend hand washing to your customers.
Tips and tricks
If you are layering sign vinyl on a surface larger than about 6″ x 6″, it can be extremely difficult to apply the design to the project surface in one piece. The larger the design, the more difficult this is. Registration marks (small squares placed at the corners of the design in all the colors you are using) are not helpful. The problem is that the transfer tape will start sticking in the wrong places before you are ready to apply the design permanently. Trust me, I have spent many hours on vinyl projects.
The best way to approach this type of project is to place your main piece of the design onto the project surface and then to place the smaller portions piece by piece as I show in my video above.
If you are working with a curved or odd-shaped surface, weed the bottom-most portion of your design, leave it on the backing and then apply the smaller portions to the bottom-most portion while it is still on the backing. Once everything is in place, put your transfer tape over the entire design, burnish and lift the design. Then apply it all to your project surface. In this way, you are only dealing with the difficult surface once instead of trying to apply each layer on the surface.