
When you’re using vinyl in your cutting machine, the blade is only supposed to go through the top layer and not the carrier sheet or backing paper just underneath. Finding the right balance to cut through the top layer of vinyl but not the backing sheet underneath can be tricky. Do you know why your machine cuts through vinyl backing?
In general, your cutting machine cuts through the vinyl backing if the settings are incorrect, usually, the pressure is too high. Adjusting your pressure, changing your blade, and doing test cuts can fix it for your next try. Meanwhile, transfer tape and patience can salvage most projects with cut backing.
Knowing what went wrong will help you avoid the same mistake in the future, and doing test cuts before you start your final project will save you a lot of future headaches. Read on to learn how to figure out your issue, fix it, and salvage a project when you accidentally cut too deep.
Why You Don’t Want Your Machine To Cut Into Your Backing
Whether you’re using a heat transfer vinyl or an adhesive vinyl, your material will come with a paper or plastic backing sheet. This sheet is the side of the vinyl that you stick to your cutting mat. When you use vinyl, this sheet is supposed to stay intact.
The backing might not seem crucial; it’s going to come off your project eventually, after all. However, keeping your backing intact lets you keep your design spaced and arranged exactly as you planned it in the designing software and holds it there until you’ve completed your project.
If your machine is cutting all the way through the vinyl into the backing, or worse, all the way into the mat, then your machine is putting too much pressure into the cut. This usually means the settings are wrong for the material that you have loaded into your machine. Or it may mean that there’s an issue with your blade.
Die Cut vs. Kiss Cut
There are some situations where you might want to cut through your backing, primarily when you’re making die cut stickers. Die cut stickers are a project that actually requires you to cut all the way through the backing. This type of cut goes all the way around your design, leaving you with just your design.
Most vinyl projects use a kiss cut instead. A kiss cut is the kind of cut that only goes through the top layer of vinyl and not the backing. Kiss cut stickers, for example, leave you with a sheet of stickers like you’d see at a craft store.
Kiss cuts are also practical for vinyl projects where you want to maintain the space between your design elements. If you’re putting a phrase on a mug, it’s easier to maintain the kerning, or spacing, between the letters if your backing stays intact.
Learn more about the difference between a die cut and a kiss cut in my article, Die Cut vs Kiss Cut.

Material and Setting Issues for Vinyl
Both Cricut and Silhouette machines have settings specific to different materials. However, not all vinyl is created equal, the vinyl setting might work perfectly with one brand but cut all the way through another.
Doing a test cut on a small piece of vinyl before you cut your final project will let you check the settings and make adjustments as needed. Start with the recommended setting for the type of vinyl you’re using, and adjust in small increments until you’re happy with the test cut. If you have any scrap material this is the perfect time to use it.
When possible, using the same brand of vinyl as your machine will help. The settings were designed for the brand’s own vinyl, so they should match closely. However, other vinyl brands will still give you great results once you get the pressure just right.
Pay attention to the type of vinyl as well as the brand. Adhesive vinyl has different backing from heat transfer vinyl. Adhesive vinyl tends to use a waxy paper backing, whereas heat transfer vinyl has a clear plastic backing. These backings are different thicknesses, so heat transfer vinyl will cut through more easily than adhesive backing.
Expressions vinyl is one of my favorite places to buy vinyl. They have a ton of different colors and patterns. They carry permanent vinyl, removable vinyl, printable vinyl, heat transfer vinyl as well as transfer tape. Check out their latest sales!
How to Fix Cut Setting Issues
To fix a cut setting problem start by confirming you have the right material selected in your cutters software. If you are using a different brand of vinyl than your machine start by using the machine brand settings. For example, if you have a Cricut but are using ORACAL 651 vinyl select the “Premium Vinyl” Setting with “Default” pressure.
Perform a test cut to see how the setting works out. I like to use a small 1″ star as a test cut. Weed your test cut and see if the cut was correct.
You can set the pressure to “More” or “Less” depending on how well your machine cut your test cut out. You can also try other materials or create your own setting till you are happy with the quality of your cut. Just remember when you change your blade you should retest your cut settings.

Blade Issues Leading to Cut Vinyl Backing
Several factors impact how well your machine performs a cut, including how sharp or dull your blade is. In particular, a new blade might need less pressure than an older blade to make the same depth cut. A clean blade will make a neater cut than one covered in gunk.
Blades can be easily cleaned using a foil ball. Simply take some aluminum foil, ball it up and stab it, carefully, into the ball multiple times. If you think you’re blade might need to be replaced, check out my article for details on when to replace a Cricut blade.
For Cricut, make sure you are using the right blade for your machine. Older models should use a fine point blade for vinyl, but the Maker and Explore series need the premium fine point blade.
The standard fine point blade is too long for these machines and will make cuts that are too deep for the machine settings. The Joy also has it’s own specific blades.
A Silhouette Cameo cutting through vinyl backing might have a problem with the blade carriage. The Cameo can’t adjust the blade depth when the blade housing isn’t pushed all the way down into the carriage. When this happens, the cuts will be too deep. The mechanism that pushes the blade in and out won’t engage, leaving the whole blade exposed.
How To Fix Blade Issues on Silhouette and Cricut
Start by uninstalling and reinstalling your blade. This will help you check you have your blade and housing installed correcting in your machine.
While your blade is removed for your machine, inspect it. Check for any debris or nicks in the blade. Clean your blade using the foil ball method mentioned above.
You can also use some rubbing alcohol on a cotton ball to remove any adhesive residue. Just be very careful to not cut yourself.
If you decide to change your blade remember to reduce your pressure settings during your test cut.
Tips for Test Cuts with Your Cutting Machine
Test cuts are one of the easiest and most overlooked ways to prevent project disasters. If you are like me you get all excited once you’ve completed a design and just send it to your cutting machine. This is the number 1 most common mistake made by crafters.
But you should take a moment to think if this is a new material you are using, if you haven’t used this type of material in a while or if you have recently replaced your blade. If any of these are true then you should perform a test cut.
A test cut is simple and quick to do. Take a small piece of material and cut out a 1 inch star using the exact settings you will use on your project. Weed the design and see if you are happy with the result.
If you are happy then you can go ahead and make your project. If not then you should adjust your settings and retest. Keep testing until you get a good quality cut.
Keeping a record of the settings that work for each brand and type of vinyl you use will save you time and frustration for future projects. Cricut Design Space and Silhouette Studio both have a feature that lets you save custom settings.
You can also keep a written log of custom settings in a notebook in your craft area if written records are more your speed. Make a note of the brand, exact name of the vinyl, and all of the settings you used with your machine, including blade type, blade age, and mat type.
The more specific your notes are, the less time you’ll have to spend on test cuts when you start your next project!
If you use a notebook to write out your custom settings, you can also record how old your blade is and when you last changed it.
Salvaging a Project When You Cut the Backing
Cut vinyl backing isn’t the end of the world or even the end of your project. Unless you were trying to make kiss cut stickers and accidentally made die cut stickers, cutting the backing is salvageable.
Transfer tape is your best friend in this situation if you are using adhesive vinyl. You should be using transfer tape to place your designs anyway, but if your backing is cut, it can hold everything together for you.
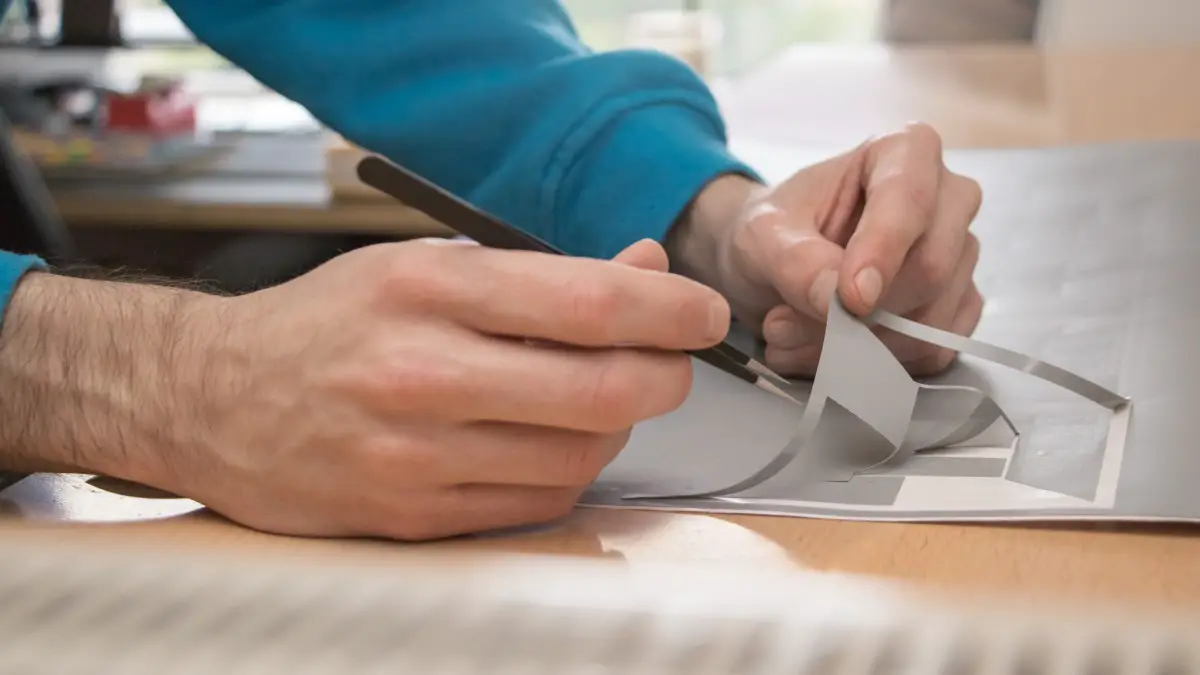
Using a weeding tool, carefully pull the excess vinyl off your cutting mat, leaving the backing stuck to the mat as much as possible. The stickiness of the mat can help hold your design still while you do this, but you’ll want to move slowly and use as much patience as you can.
Once you have your design weeded, place the transfer tape over the top of it, but don’t burnish it like you usually would. Otherwise, you’ll get the transfer tape stuck to the mat.
Once your design is on the transfer tape and off the mat, you can peel the remaining backing off of it. You might need to use the weeding tool for this, too, depending on how intricate your design is. Then you can place your design as you normally would–crisis averted!
Final Thoughts
When your machine cuts through your vinyl backing, it can be a bummer, but it doesn’t spell disaster. Most of the time cut vinyl backing is caused by the pressure setting being too high or the wrong material setting. Transfer tape can save your current project, and meticulous test cuts and settings notes can keep future projects from meeting the same fate.