
It is frustrating to lay out a design perfectly in Design Space and send it through your Cricut, only for the material to come out with cuts in all the wrong places. Even an experienced crafter can have trouble getting their machine to make the right cuts every time.
To fix a Cricut not cutting in the right spot check that your image is attached in Design Space. Ensure your cutting mat is loaded properly and your material is stuck down well. If you are changing blades or using print-then-cut, your machine may need to be recalibrated.
There are several reasons your cuts might be in the wrong place, ranging from calibration issues to software problems. I’ll cover the most common cutting issues and how to correct them. Keep reading if you want to learn more!
Cricut Sales! Save up to 50% OFF on Materials and Accessories. Plus, get up to $150 off Machines and Heat Presses!
Check Out the Current Deals
Get Free Shipping with Code JANSHIP
Cricut Design Space Issues
Cricut Design Space is a comprehensive tool, but it can introduce cutting problems if your settings and intended results aren’t aligned. Knowing how to use the tools in Design Space will help you get the cut you expect every time.
The Attach Tool
A common error in Design Space is not using the “attach” tool when you cut your design. If you have multiple shapes or images in your design and send them to cut without using the attach tool, they will very likely come out wrong.
This is because the Cricut will automatically adjust the shapes to save space and use less material. You can look in the layers panel in the canvas to find the “attach” tool (near the bottom of the screen). Select all of the items on your canvas that you want to be stuck together, and hit attach.
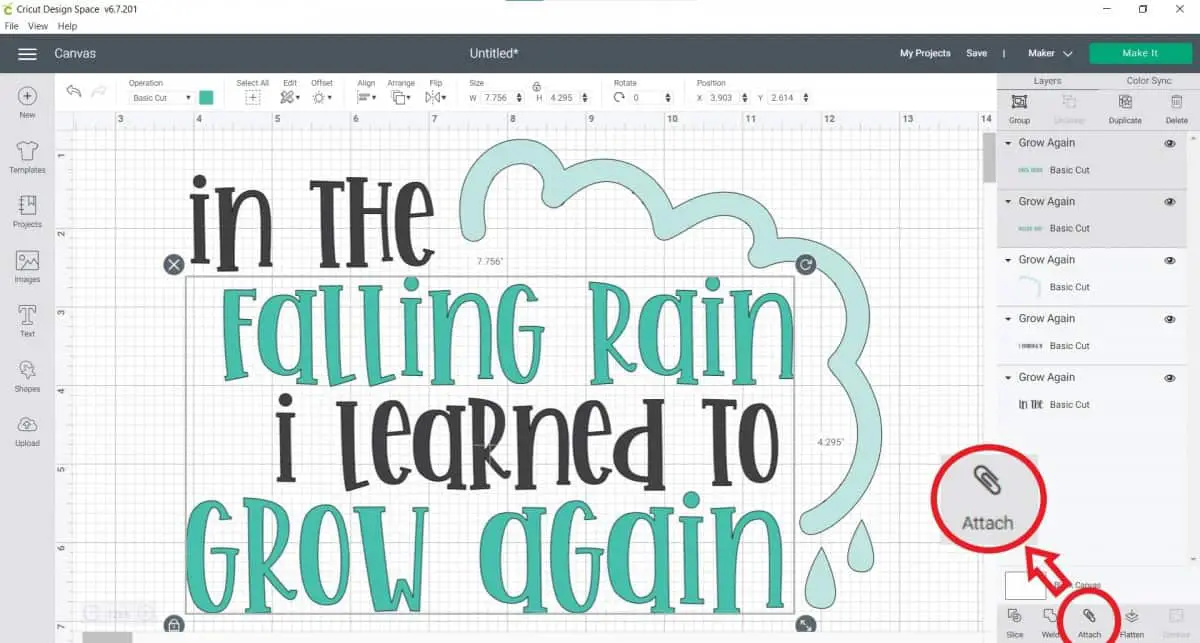
You can check to make sure it’s attached the way you wanted in the preview screen. The design will always appear on the preview screen the way the Cricut intends to cut it.
Additionally, Cricut will always move your entire design to the top left corner of the mat unless you drag the design to another place on the mat on the preview screen, which will lock it into place before you cut.
Learn more in my article Why does Cricut Rearrange my Design and What does Attach Do.
Print Then Cut Issues
There are several reasons your Cricut might be making incorrect cuts on a print then cut project:
These are easy issues to fix. If you aren’t sure which error you’re experiencing, a little trial and error should get you straightened out in no time!
- The printed design isn’t actual size.
- The image isn’t flattened to a shape.
- The machine isn’t calibrated for print then cut.
- The sensors can’t find the image.
Print Then Cut is a useful and popular feature of the Cricut machine, but it can be tricky to get it right. It’s important to note that print then cut doesn’t currently work with Android devices, and it also tends to work better from a computer rather than a tablet or smartphone.
The Printed Design Isn’t Actual Size
When you’re printing out a design for print then cut projects, you should print its actual size. This will help your Cricut get the dimensions of the cut correct. The printed material measurements need to match the measurements that Design Space is telling the Cricut to cut.
The Image Isn’t Flattened
One of the most common errors happens when you have multiple layers on a design, but you haven’t flattened them to a shape. If your layers aren’t all flattened into one shape, your machine will read them as individual designs that need to be cut separately.
For example, if you have a line of text or a pattern inside a larger shape, but you don’t flatten, then the Cricut will cut out the internal text and the external shape. You can find the flatten tool on the layers menu of the canvas.
The Machine Isn’t Calibrated
You should always calibrate your machine for print then cut before you start a print then cut the project. Just like changing the blade, switching to print then cut can trip up your machine if you don’t take the time to calibrate.
There is a specific calibration sheet for print then cut. It is found under the same menu as the calibration sheets for the rotary blade, and knife blade.
The Sensors Can’t Find Your Image
For print then cut jobs, your printed design will come out with a solid black box around the design. This is an important marker for your Cricut machine. It’s how it recognizes where the printed design is on your material.
If this box isn’t printed, or if your machine cannot find the box, then the print and cut project won’t come out correctly. The sensors on your machine are light-sensitive, so if your black box is printed correctly but the cuts aren’t right, try closing the lid or dimming the lights in your craft space to make it easier for your machine to read the design.
If you are using a glossy material it can help to place matte scotch tape over top of the black guide marks. This helps the sensor to detect the guide lines.
Another thing is to make sure you are using material that is the correct color for your machine. Different machines have different sensor sensitivity. Some machines can only perform print then cut on light or white materials while some can do darker colored materials.
The Explore Air 2 and older Explore models can on use white materials for Print Then Cut. The Explore 3, Maker and Maker 3 can use light colors and even patterned paper if the design is simple.
Cricut Calibration Problems
Another common reason your Cricut is cutting the wrong part of your design is that the calibration is off. This can happen easily if you’re changing your blades and tools frequently. To make the right cuts, your Cricut machine has to be able to recognize what tool you’re using.
For example, the knife and rotary blade tools for the Cricut Maker cut differently from the premium fine point blade. These tools are different sizes, so the Cricut has to adjust how it moves and cuts to accommodate these differences.
You should calibrate your machine the first time you use it and any time you switch tools or experience inaccurate cuts. In Design Space, there’s a Calibration option under the Account menu. Select the type of calibration you need and print the appropriate calibration sheet.
For best results, print the calibration sheet actual size rather than fit-to-page. Your machine aligns itself with the measurements on that sheet during calibration, so if you print it a different size from the actual size, your machine’s adjustments will be wrong.
Cricut Set-Up Issues
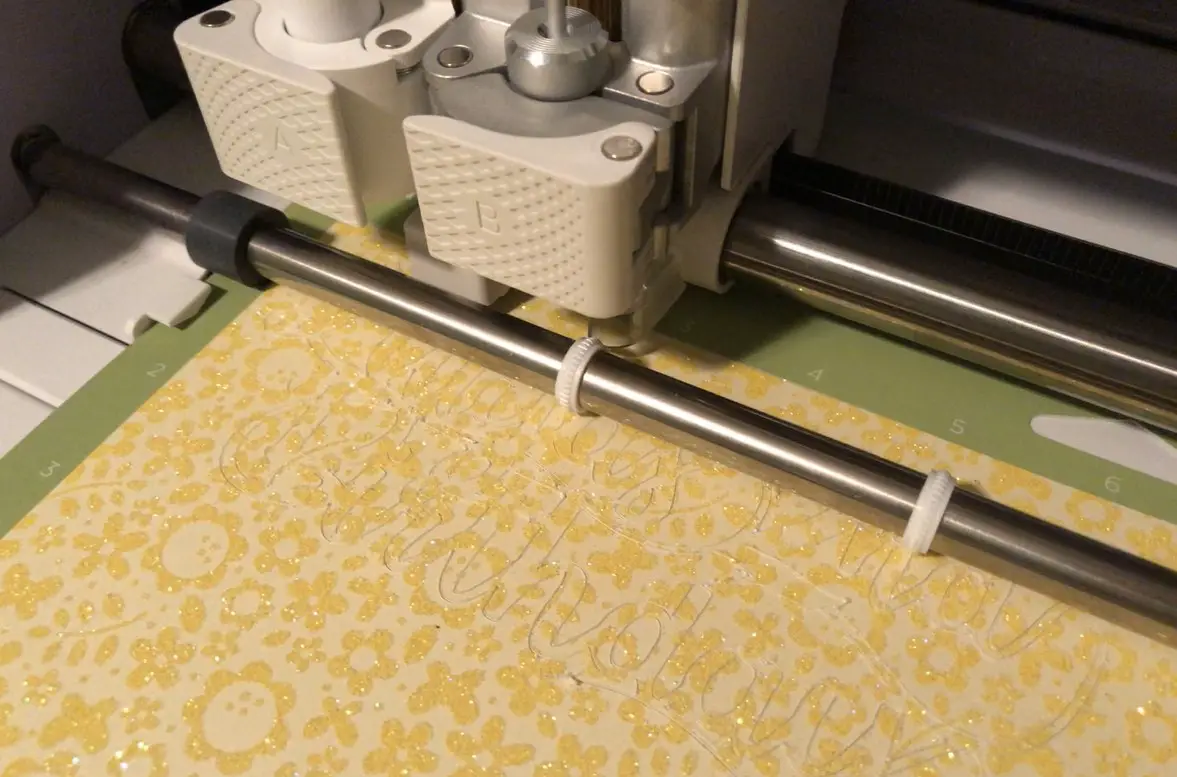
Sometimes, your cut issue might be much more straightforward than a Design Space error or calibration problem. Check to make sure that your material is lying flat on the mat. If it wrinkles or bunches up, it could snag the blade and cause cutting errors.
If your mat is loaded incorrectly or loaded facing a different direction from what’s shown on Design Space, you can also end up with erroneous cuts. When loading your mat make sure the mat butts up against the rollers. On one of my first cuts with my Cricut Maker, I wasn’t paying attention and my mat wasn’t touching the rollers when I hit the load button. My design was cut way too high on my mat and off my material.
You may also have difficulty if your design is too small or intricate for the blade type you’re using. Anything smaller than ¾ inches isn’t going to turn out well with the knife blade, for instance.
Connectivity issues can also lead to cut problems. In general, the Bluetooth connectivity for your machine should be fine for your design. However, if you have a particularly large or intricate design that might take a long time to process, a cabled connection will be more reliable.
Taking a moment to double-check all of these factors could save you the headache of cuts in the wrong place!
Final Thoughts
While a cut job coming out of your Cricut wrong can be frustrating, it isn’t the end of the road for your project or your machine. Calibration corrections, software mishaps, and set-up problems can all temporarily knock your projects off course. However, a few adjustments to your settings should readjust your machine and get your cuts back on track.